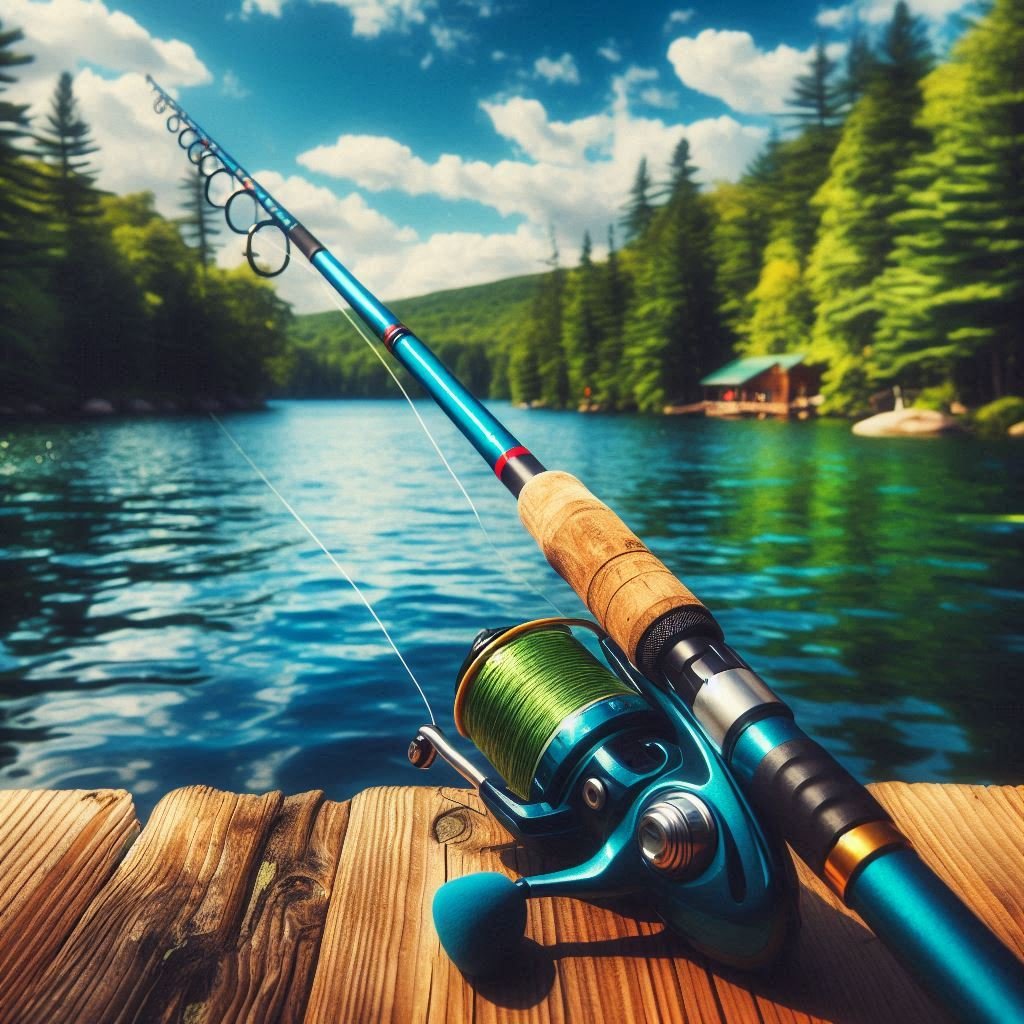
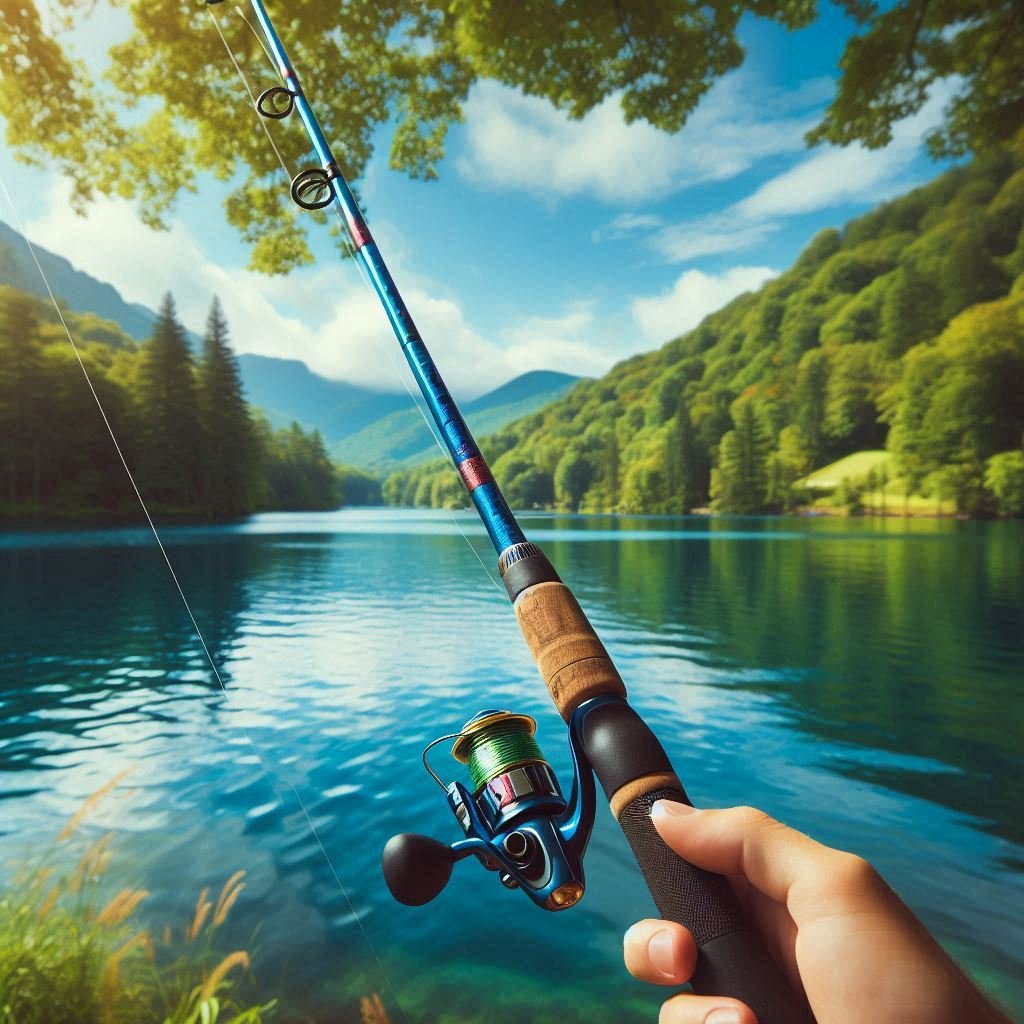
Fishing rods are essential tools for anglers, but they’re also susceptible to damage. Whether you’ve had an unfortunate mishap or your rod is showing signs of wear, knowing how to fix a fishing rod can save you money and get you back on the water faster. Fixing a fishing rod might seem complicated, but with the right tools and techniques, you can easily repair your equipment and continue your fishing adventures.
In this comprehensive guide, we will walk you through how to fix a broken fishing rod, repair snapped rods, and offer solutions for fixing broken tips. By the end of this article, you’ll have all the information needed to tackle rod repairs on your own, ensuring your gear stays in top condition.
How to Fix a Fishing Rod (Broken): Common Issues and Fixes

When a fishing rod breaks, it doesn’t always mean you need to toss it away. Depending on the severity of the damage, many rods can be repaired, saving you the cost of purchasing a new one. Here are the most common issues anglers face and how to fix a fishing rod.
How to Fix a Fishing Rod which is Snapped
A snapped rod can happen during rough handling, casting, or even storing improperly. Fortunately, repairing a snapped fishing rod is possible if you follow these steps:
- Assess the Damage: The first thing to do is assess how bad the break is. If the rod is broken cleanly, repair is fairly easy. If the break is jagged or in multiple pieces, the repair will be more challenging.
- Gather Your Tools: You’ll need a few basic tools, including a two-part epoxy resin, sandpaper, masking tape, and a rod repair kit (if available).
- Clean and Prep the Break: Carefully clean both broken ends of the rod, removing any dirt or residue. Use sandpaper to roughen up the surface slightly, allowing for a stronger bond between the two pieces.
- Apply Epoxy: Mix your two-part epoxy according to the instructions and apply it generously to the ends of the broken rod.
- Join the Pieces: Carefully align the broken pieces and press them together. Wrap masking tape around the break to hold it in place while the epoxy cures.
- Wait for the Epoxy to Cure: Allow the epoxy to cure for the recommended time (usually 12-24 hours). During this period, avoid touching or moving the rod to ensure a strong bond.
- Test the Repair: After the epoxy has fully cured, test the rod for strength by gently bending it. If the repair feels solid, you’re good to go!
How to Fix a Broken Fishing Rod Tip
A broken fishing rod tip is another common issue that’s relatively simple to repair. The tip is a critical part of the rod, affecting its sensitivity and casting ability. Here’s how to fix a broken tip:
- Remove the Broken Tip: Use pliers or your hands to gently remove any broken tip from the rod.
- Find a Replacement Tip: You can find replacement tips at most fishing stores or online. Make sure to get a tip that matches the rod’s specifications.
- Prepare the Tip: Use sandpaper to roughen the end of the rod where the new tip will be attached. This ensures a strong bond.
- Glue the New Tip: Apply a small amount of epoxy or rod glue to the end of the rod and insert the new tip. Hold it in place for a few minutes until the glue starts to set.
- Let the Glue Cure: Allow the glue to fully cure before using the rod. Most glues require 24 hours to set completely.
- Check Alignment: Make sure the tip is aligned properly. The alignment is crucial for casting and sensitivity, so ensure the new tip sits straight on the rod.
- Test the Repair: Once the glue has cured, test the tip’s stability by gently bending the rod. If it feels secure, the repair is complete.
How to Fix a Fishing Rod which is Broken or Snapped Fishing Rod Reel Seat

Sometimes the reel seat, the part of the rod where the reel attaches, can become damaged or broken. Here’s how to fix a fishing rod issue:
- Assess the Damage: If the reel seat is cracked but not completely broken, you might be able to fix it with epoxy. If it’s snapped in half, replacing the seat is usually the best option.
- Clean the Area: Before beginning any repairs, clean the damaged area to remove dirt or grease.
- Apply Epoxy or Resin: If the break is minor, apply a strong epoxy to the cracked area and allow it to set. For more significant damage, you may need to replace the seat.
- Replace the Reel Seat: If the seat is beyond repair, purchase a new one that matches the size and style of your rod. Removing the old seat can be tricky, but using a heat gun or carefully cutting it off can help.
- Reassemble and Test: After applying the epoxy or replacing the seat, test it by attaching your reel and checking its stability.
How to Fix a Fishing Rod Handle
The handle of a fishing rod can get damaged over time, especially with heavy use. Here’s how to fix a fishing rod:
- Inspect the Handle: Check if the handle is cracked, loose, or detached. If it’s loose, tightening it may solve the issue. If it’s cracked, you’ll need to repair or replace it.
- Tighten the Handle: If the handle is loose, simply tighten the screws or bolts that hold it in place.
- Repair Cracks: If there’s a crack, use epoxy or a rod-specific adhesive to fill it in. Apply the adhesive and allow it to cure properly.
- Replace the Handle: If the handle is too damaged to repair, you can replace it with a new one. Handles come in various materials, including cork and EVA foam, so choose the one that fits your needs.
- Test the Repair: After you’ve repaired or replaced the handle, test it for stability by gripping it and giving it a light twist.
How to Fix a Fishing Rod’s Action
Sometimes, a fishing rod can lose its action due to damage or wear. Fixing the rod’s action can involve repairs to the blank or adjusting the flexibility by adding or removing material. This type of repair is more advanced and might require professional assistance, but minor fixes can be done by sanding or adjusting the components around the damaged area.
How to Maintain a Fishing Rod to Prevent Damage

Preventing future rod damage is key to maintaining your gear for years to come. Here are a few tips to keep your fishing rod in top condition:
- Store Your Rod Properly: Always store your fishing rod in a safe, dry place. Use a rod rack or case to protect it from accidental damage.
- Clean After Each Use: After each fishing trip, clean your rod thoroughly. This helps prevent saltwater, dirt, and grime from accumulating and damaging the rod’s components.
- Inspect Your Rod Regularly: Check your rod for any signs of wear, cracks, or loose components. Regular inspections can help catch potential issues early, preventing further damage.
- Handle with Care: Be mindful of how you handle your rod, especially during transport. Avoid dropping or bending it unnecessarily.
- Avoid Overloading Your Rod: Don’t push your rod past its limits. Make sure to use the correct line strength and avoid using the rod for larger fish than it was designed for.
By following these steps and tips, you’ll be able to repair your fishing rod, fix a broken tip, or address any other damage, extending the life of your equipment and saving money. With a little practice and the right tools, you can handle most fishing rod repairs on your own.
Fishing enthusiasts know that a damaged rod can put a serious damper on a day’s trip. Fortunately, with innovations in repair kits and even specialized services, fixing a fishing rod has become easier than ever. In 2023, the fishing industry saw a surge in advanced repair kits designed specifically for rod repairs, making them accessible to every angler, whether a beginner or expert. These kits offer an array of solutions for various types of damage, including how to fix a fishing rod (broken) tip or a snapped rod.
In addition, the rise of online tutorials and dedicated repair communities has made it easier than ever to troubleshoot and repair fishing rods from the comfort of your home. Manufacturers are also stepping up with stronger and more durable materials, minimizing the chances of severe damage, but when accidents happen, learning how to fix a fishing rod properly can save both time and money.
Many anglers have shared their success stories and tips for DIY rod repair, reinforcing the idea that rod maintenance and repair shouldn’t be left to professionals alone. It’s a craft that, once learned, can be highly rewarding and cost-effective.
Frequently Asked Questions (FAQs) About Fixing Fishing Rods

How do you fix a broken fishing rod?
Fixing a broken fishing rod typically involves cleaning and sanding the break area, applying epoxy or resin glue, and carefully rejoining the broken pieces. Allow the repair to cure properly before testing the rod. For more severe damage, you might need to use replacement parts like a new tip or reel seat.
Can you fix a snapped fishing rod?
Yes, you can fix a snapped fishing rod by using an epoxy resin to bond the broken ends. Make sure the break is clean and smooth before applying the glue. If the rod is severely damaged, you may need a replacement part or to replace the entire rod.
How do I repair a broken fishing rod tip?
To repair a broken fishing rod tip, remove the old broken tip, sand the area where it will attach, apply adhesive, and fit the new tip onto the rod. Allow the glue to cure for 12-24 hours before using the rod again.
What tools do I need to fix a fishing rod?
You’ll need some basic tools to repair a fishing rod, such as sandpaper, epoxy glue or resin, masking tape, pliers, and a replacement rod tip or reel seat (if necessary). A rod repair kit can also make the process easier.
Can I fix a fishing rod handle myself?
Yes, most fishing rod handles can be fixed at home. Tighten loose components, apply glue or epoxy to small cracks, or replace the handle if it is beyond repair. New rod handles are available in a variety of materials to match your rod’s specifications.
What if my fishing rod has a crack but isn’t fully broken?
If your rod has a crack but isn’t completely broken, you can fix it by applying a strong epoxy to the crack. Make sure the crack is clean before applying the adhesive. This type of repair works well for minor cracks but may not restore the rod’s full strength.
How long does it take for rod repair epoxy to cure?
Epoxy for fishing rod repairs typically takes 12-24 hours to fully cure. Make sure to follow the manufacturer’s instructions on the specific epoxy you use for best results.
Is it possible to fix a fishing rod with a bent section?
Yes, if the rod is bent but not broken, you can carefully heat the rod (using a heat gun or boiling water) and try to straighten it. However, be cautious as overheating or bending it too quickly can cause further damage.
Can I repair a fishing rod tip myself or should I seek professional help?
Many anglers repair a fishing rod tip themselves by purchasing replacement tips and applying adhesive. If you’re unsure or the damage is too severe, professional repair services are available.
How do I maintain a fishing rod to prevent future damage?
To prevent damage, store your fishing rod properly, keep it clean after each use, avoid putting excessive pressure on it, and regularly check for any signs of wear or damage. Maintaining your rod with care will increase its longevity and minimize the need for repairs.
Events and Innovations in Fishing Rod Repairs
In recent months, the fishing industry has hosted a number of workshops and online tutorials, teaching anglers how to properly maintain and repair their fishing rods. These events have grown in popularity, with companies offering sponsorships to educate enthusiasts on rod repairs, techniques, and the importance of regular maintenance.
One such event was the National Fishing Expo 2024, where attendees were introduced to the latest rod repair kits, DIY tools, and instructional content. Many attendees left the event feeling more confident in repairing their rods at home, armed with new knowledge and tools.
Additionally, the growing trend of sustainability in fishing has led to the development of eco-friendly repair materials. Brands have launched new rod repair kits using biodegradable and non-toxic adhesives, providing environmentally conscious anglers with a way to repair their equipment without harming nature.
Let’s Share Your Experiences!
We’d love to hear about your rod repair experiences! Have you ever fixed your fishing rod or tip? What repairs did you make, and how did it go? Share your stories in the comments section below. If you’ve found any useful resources or tips for fixing rods, feel free to share them with our community.
Also, don’t forget to share this article with your friends and fellow anglers on social media. The more people we can help with rod repairs, the better! If you have any questions or need further guidance on fixing a broken rod, drop them below, and we’ll be happy to assist. Let’s Check Out Introduction to Terraria Fishing Rods
By learning how to fix a fishing rod, you’re not only saving money but also gaining confidence in taking care of your fishing equipment. Remember, whether it’s a snapped tip or a cracked handle, there’s always a solution at hand. Happy fishing!
