Creating your own homemade fishing rod can be a rewarding and fun project for any angler. Whether you’re a seasoned fisherman looking for a personal touch or a beginner who wants to learn the art of rod crafting, building a homemade fishing rod gives you a sense of satisfaction and ownership over your gear. In this guide, we’ll take you through everything you need to know about making your own rod—from selecting the right materials to assembling the components and even creating custom fishing rod holders, stands, and racks. By the end, you’ll be ready to tackle your next fishing trip with a rod that’s uniquely yours.
What is a Homemade Fishing Rod?
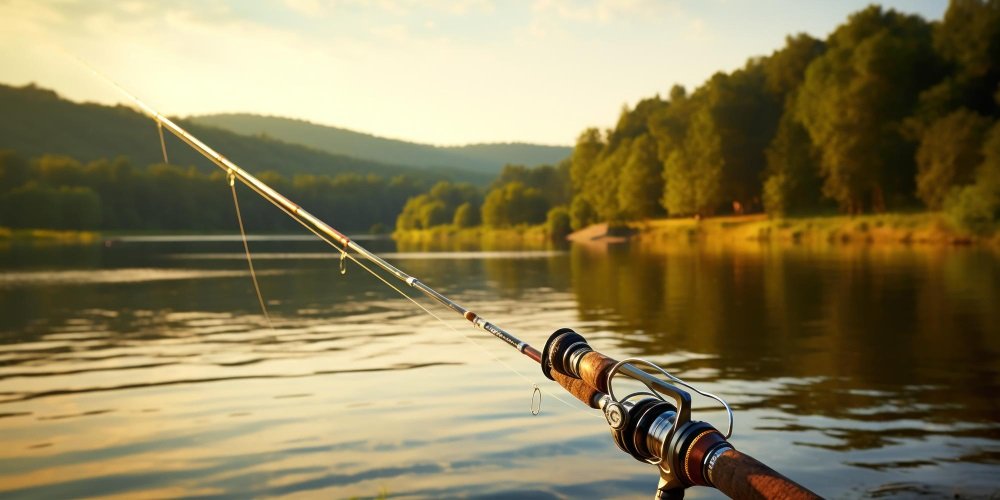
A homemade fishing rod is exactly what it sounds like: a fishing rod that you create from scratch or by modifying existing materials. Making your own fishing rod can involve selecting the rod blank, adding the reel seat, and wrapping the guides before securing them with epoxy. A homemade rod can be designed for different types of fishing, whether you’re casting from a boat, fishing from the shore, or even fly fishing. Customization options are virtually endless, from the materials you choose to the style of the grip and the rod’s overall length and power.
Why Make a Homemade Fishing Rod?
There are many reasons why building a homemade fishing rod might be appealing. For starters, it allows for a higher degree of customization. You can select the exact materials, length, and power rating based on the type of fishing you prefer. Whether you’re going after big-game fish or casting for smaller species, a homemade rod gives you the flexibility to design it exactly as you want.
Secondly, making a homemade fishing rod can be a fun and educational experience. Not only will you learn about the different components that make up a fishing rod, but you’ll also gain hands-on experience in crafting a functional piece of equipment. It’s a great way to learn about the intricacies of fishing gear and develop a deeper understanding of the sport.
Lastly, for those who enjoy DIY projects, making a homemade fishing rod is a fantastic way to get creative and take on a challenge. Whether you’re building it for personal use or as a gift for a fellow angler, a homemade fishing rod is something you can be proud of.
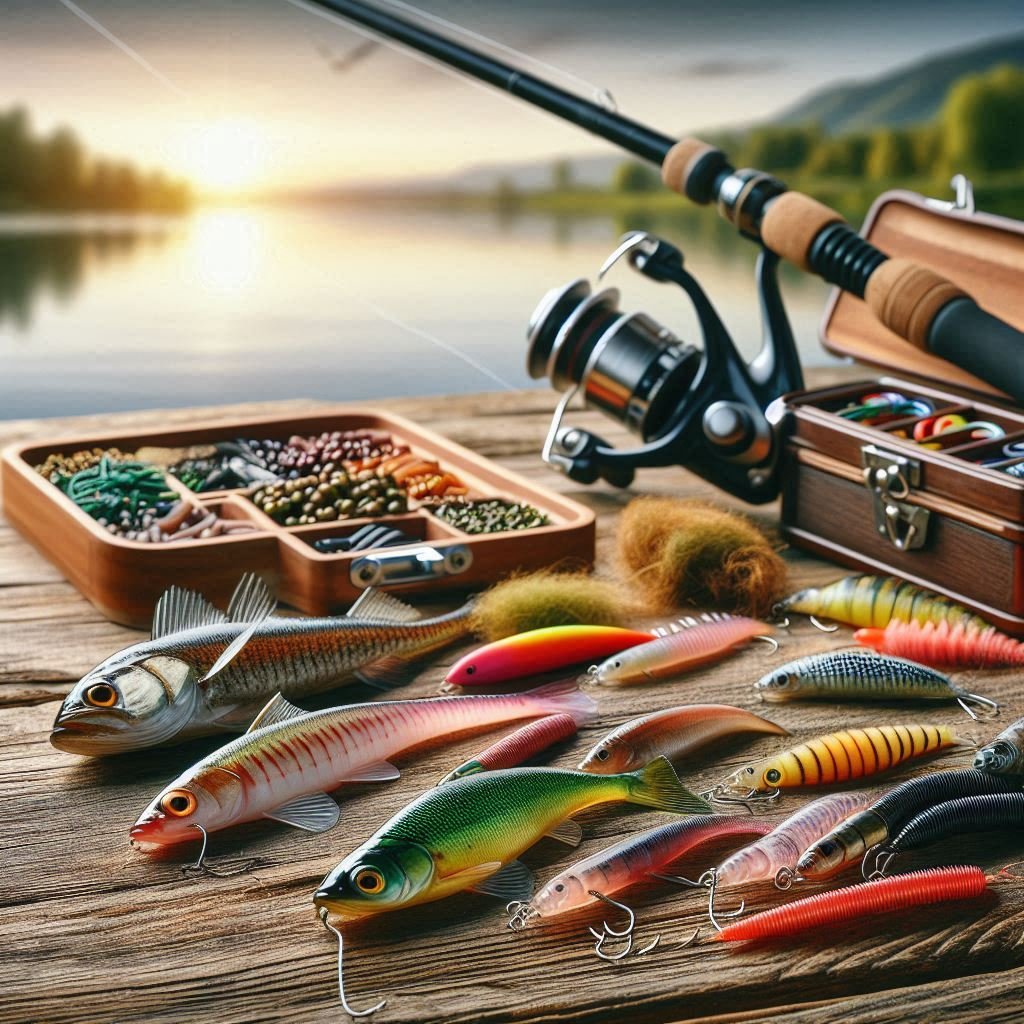
Choosing Materials for Your Homemade Fishing Rod
The foundation of any homemade fishing rod starts with selecting the right materials. Here’s a breakdown of the key components you’ll need:
Rod Blank
The rod blank is the core of your fishing rod. It’s the long, slender shaft that gives the rod its strength and flexibility. Rod blanks are usually made of materials like graphite, fiberglass, or a composite of both. Each material has its advantages:
- Graphite: Lightweight and sensitive, making it great for detecting light bites and casting with precision.
- Fiberglass: More durable and flexible, ideal for heavy-duty fishing or beginners.
- Composite: A mix of both materials, offering a balance of strength, sensitivity, and flexibility.
Reel Seat
The reel seat is where you attach your fishing reel to the rod. It comes in various sizes and designs, so make sure to choose one that fits the reel you plan to use. This component must be sturdy enough to hold the reel securely while you’re fishing.
Guides
Guides are the small rings along the length of the rod that the fishing line passes through. These help control the line’s movement and prevent tangles. Guides are typically made of stainless steel or titanium, with ceramic inserts to reduce friction and increase durability.
Grip
The grip is where you hold the rod. It’s usually made from cork, EVA foam, or rubber. Cork is lightweight and provides a classic feel, while EVA foam is more durable and offers a comfortable grip.
Thread and Epoxy
To attach the guides to the rod, you’ll need a strong, durable thread. Rod-building thread is typically made from nylon or polyester. Epoxy is used to secure the guides and threads to the rod blank and ensure they stay in place during use.
Tip Top
The tip top is the small guide at the end of the rod. It helps guide the line off the rod and protects the end of the blank. Tip tops come in various sizes, so make sure to choose one that matches the size of your rod blank.
Building Your Homemade Fishing Rod: Step-by-Step
Step 1: Prepare Your Materials
Start by gathering all the necessary materials. Before you begin assembly, make sure you have:
- A rod blank
- A reel seat
- Guides and tip top
- Thread and epoxy
- A grip (either cork or EVA foam)
- Rod-building tools such as a winding tool and reamer
Step 2: Attach the Reel Seat
Once you’ve selected the reel seat that fits your fishing reel, it’s time to attach it to the rod blank. This is typically done by sliding the reel seat over the bottom end of the rod blank and securing it with epoxy or a strong adhesive. Make sure it’s aligned properly, so your reel fits snugly.
Step 3: Attach the Guides
The next step in building your homemade fishing rod is attaching the guides. You can start by placing the guides along the rod blank to determine their spacing. Once you’re happy with the placement, use rod-building thread to wrap them in place. The wraps should be tight enough to hold the guides securely but not so tight that they cause the rod blank to bend.
Step 4: Apply Epoxy to the Guides
After wrapping the guides with thread, mix up some epoxy and apply it to the wraps. This helps secure the guides in place and gives the rod a clean, professional finish. Use a small brush to spread the epoxy evenly and ensure it soaks into the thread. Allow the epoxy to cure for at least 24 hours before proceeding.
Step 5: Install the Grip
Next, slide the grip onto the top of the rod seat. If you’re using cork, you may need to ream it to fit the diameter of the rod blank. Apply some adhesive inside the grip to hold it firmly in place. Let it dry for several hours.
Step 6: Finish and Test the Rod
Once everything is assembled and the epoxy has cured, it’s time to test your homemade fishing rod. Before hitting the water, check for any weak points or areas that might need reinforcing. Make sure the guides are properly aligned and the grip is secure.
Homemade Fishing Rod Holders
Once you’ve created your homemade fishing rod, you’ll need a good holder to store it. There are several types of homemade fishing rod holders you can build:
- Homemade Bank Fishing Rod Holders: These are typically used when fishing from the shore. They are designed to hold your rod in place while you wait for a bite. Bank fishing rod holders can be made from PVC pipe or wood and are easy to assemble.
- Homemade Fishing Rod Stands: A fishing rod stand is perfect for keeping multiple rods organized at home. It can be made from wood or metal and holds several rods vertically.
- Homemade Fishing Rod Rack: Similar to a stand, a fishing rod rack is designed to hold rods horizontally. These racks can be mounted on a wall or placed on a shelf, providing easy access and organization for your fishing gear.
Homemade Fishing Rod Storage Tips
When storing your homemade fishing rod, make sure to keep it in a cool, dry place to avoid damage from moisture or extreme heat. Using a rod rack or stand to keep the rod off the ground will prevent unnecessary wear and tear. If you plan to store the rod for a long period, make sure to clean it thoroughly and disassemble any removable components, like the reel.