If you’ve ever wondered how to tie basic fishing knots for a secure and effective fishing experience, this guide will walk you through everything you need to know. Fishing knots are critical for attaching hooks, lures, and other terminal tackle, ensuring that your setup is secure and ready for action. Whether you’re a beginner or brushing up on the basics, mastering these knots is an essential step toward improving your skills.
What Are Basic Fishing Knots and Why Are They Essential?
Basic fishing knots are foundational skills every angler needs to learn. They’re used to connect fishing lines to hooks, lures, swivels, and more. Without a strong and properly tied knot, your line may break or slip at the worst possible moment, resulting in lost fish.

Knots like the improved clinch knot, Palomar knot, and loop knot are easy to learn, yet they provide exceptional strength and reliability. Whether you’re freshwater or saltwater fishing, having a solid grasp of these knots will make your trips more successful and enjoyable.
Planning Your Fishing Knot Education
Set a Learning Budget
Learning how to tie basic fishing knots doesn’t require a significant investment. However, you may need a few tools to practice, such as:
- A spool of fishing line ($5-$20)
- Practice hooks or swivels ($2-$10)
- A pair of line clippers or scissors ($5-$15)
For those who want to dive deeper, there are fishing knot books, apps, and online video tutorials available, ranging from free to $20.
Allocate Practice Time
To master these knots, dedicate some time to practice. Ten to fifteen minutes per day is enough to develop muscle memory for tying knots quickly and securely.
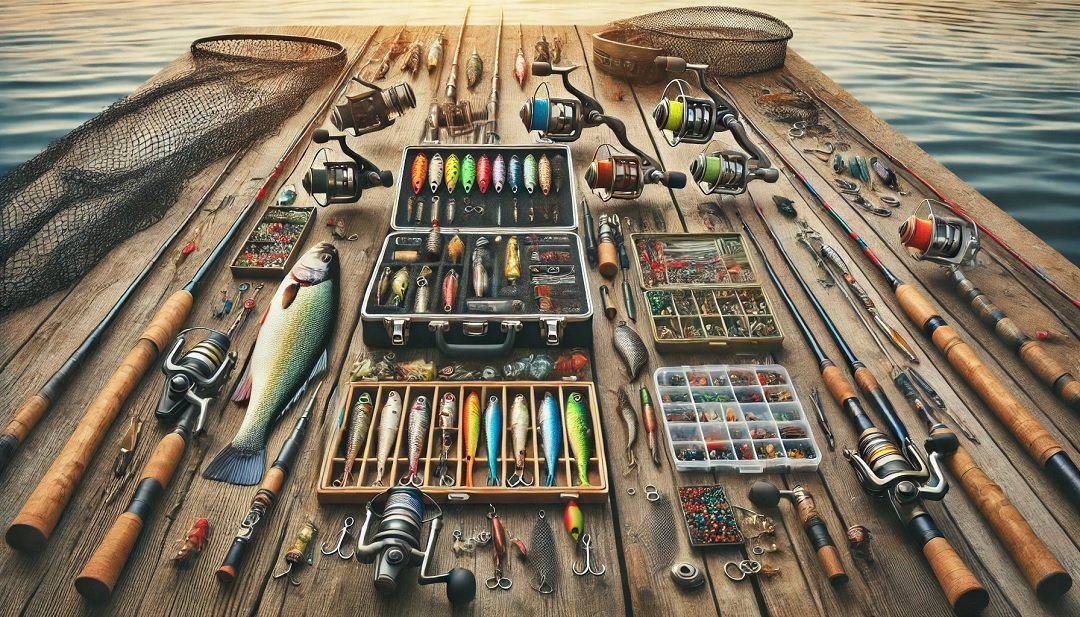
Essential Equipment for Practicing Basic Fishing Knots
Having the right tools on hand can make learning and tying fishing knots easier. Here’s a quick checklist:
1. Fishing Line
Different types of fishing lines (monofilament, fluorocarbon, and braided) behave differently when tying knots. Start practicing with monofilament, as it’s the most forgiving, and then move on to braided or fluorocarbon lines for advanced practice.
2. Hooks and Swivels
Use practice hooks and swivels to simulate real-world knot applications. These allow you to see how the knot functions when attached to tackle.
3. Line Clippers
A good pair of line clippers or scissors is essential for trimming excess line after completing a knot.
4. Knot Tying Tools
Knot tying tools like the TYEPRO Knot Tying Tool are available for those who want assistance with complex knots. These cost around $10-$20 and are a great addition to your tackle box.
Step-by-Step Guide to Basic Fishing Knots
Improved Clinch Knot
The improved clinch knot is one of the most widely used knots in fishing. It’s perfect for tying your line to a hook or lure.
Steps:
- Thread the line through the eye of the hook.
- Wrap the tag end around the standing line 5-7 times.
- Insert the tag end through the loop near the hook eye, then pass it back through the big loop.
- Pull tight and trim the excess line.
Palomar Knot
Known for its strength, the Palomar knot is ideal for braided lines.
Steps:
- Double your line and pass the loop through the hook eye.
- Tie a simple overhand knot with the doubled line.
- Pass the hook through the loop.
- Tighten and trim the excess.
Loop Knot
The loop knot is useful for giving your lure or fly more natural movement in the water.
Steps:
- Create an overhand knot about 6 inches from the tag end.
- Pass the tag end through the eye of the lure or hook.
- Feed the tag end back through the overhand knot.
- Wrap the tag end around the standing line 2-3 times.
- Tighten the knot and trim the tag end.
Top Destinations for Practicing Basic Fishing Knots
Once you’ve mastered tying knots, put them to the test at these incredible fishing destinations:
Lake Fork, Texas
A favorite among bass anglers, Lake Fork provides plenty of opportunities to practice tying knots for a variety of lures and rigs.
Bighorn River, Montana
This trout fishing haven requires finesse and precise knot tying, especially for fly fishing setups.
Florida Keys
Perfect for saltwater anglers, the Florida Keys are home to tarpon, snook, and redfish—species that require strong and reliable knots.
Benefits of Learning Basic Fishing Knots
- Enhanced Fishing Success: Secure knots mean fewer lost fish and more landed catches.
- Versatility: Knowing multiple knots prepares you for any fishing scenario.
- Confidence: Mastering knots eliminates the stress of gear failure during critical moments.
Precautions When Tying Basic Fishing Knots
Wet the Knot
Always wet the knot with saliva or water before tightening it. This reduces friction and prevents weakening the line due to heat.
Avoid Over-Tightening
While tightening is crucial, pulling too hard can weaken some knots, especially on monofilament lines.
Inspect Knots Regularly
Check your knots for signs of wear or slippage throughout your fishing trip. Retie them if they appear loose or damaged.
How to Choose the Right Knot for the Job
Different knots serve different purposes. Here’s a quick guide to help you decide:
- For Hooks and Lures: Use the improved clinch knot or Palomar knot.
- For Joining Two Lines: Try the double uni knot or blood knot.
- For Adding a Leader: Use the surgeon’s knot or loop-to-loop connection.
Tips for Mastering Basic Fishing Knots
- Practice Regularly: The more you practice, the quicker and more precise you’ll become.
- Use Different Line Types: Experiment with monofilament, fluorocarbon, and braided lines to understand their behavior.
- Watch Tutorials: Visual learners can benefit from watching detailed knot-tying videos online.